Friday, March 4, 2022

R-type Leo conversion!

Having been a fan of the R-type series since the late 80's, I always thought that Leo was quite a different game from the regular series. But it's still an R-type!  Since I already own R-type and R-type II on original hardware, I wanted to have Leo to join the set!  Unfortunately an original board is really expensive. But converting a Major Title 2 to R-type Leo is much cheaper and really easy.

I picked up a MT2 for $225, EPROMS cost me $20, and of course there's a bit of time to convert.

I ended up following the instructions made on the Arcade-Projects forum, my most favorite place to converse with fellow arcade enthusiasts:  https://www.arcade-projects.com/threads/irem-m92-conversion-log-major-title-2-r-type-leo.4680/


Wednesday, March 2, 2022

The Ultimate Dreamcast

God I love the Dreamcast.  What an amazing failed console. It was ahead of it's time. It was a console we didn't deserve it, but the console we needed.  So many great arcade games that were direct conversions *not ports*, since the the DC is built under the same hardware as the Sega Naomi.


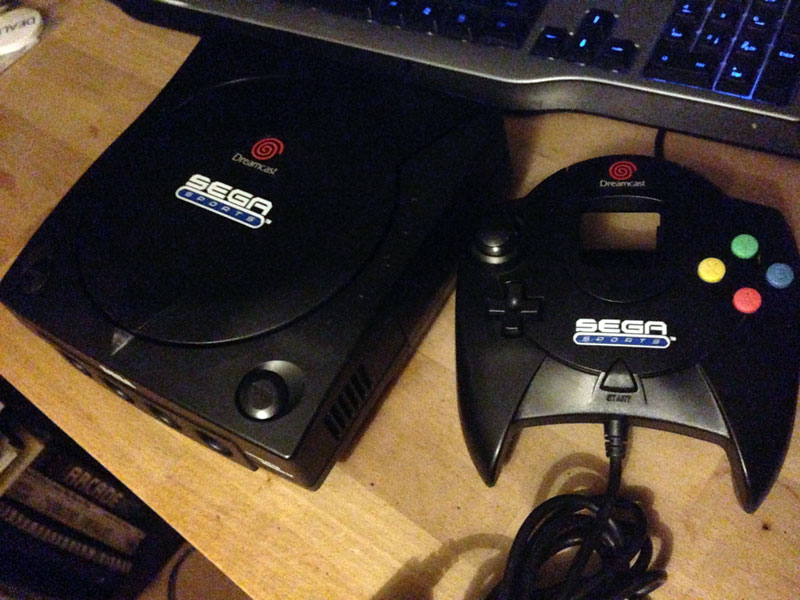
I own a Sports Edition, the cool black console, but I wanted to upgrade it for modern gaming.  Enter the DC Digital.  Amazing device that adds HDMI output to your DC!

I already had an ODE (optical drive emulator) called the USB-GDROM,  that removes the original drive and you're able to run your game images off a USB device like a HDD or Flash drive. This ODE has served me really well for a while!

But it requires you to disable the 12v rail (since that's used for the optical drive) to reduce system overheating from the PSU.  Then, a good measure is to add a new Noctua silent fan. He's the fan installed with a custom 3D printed mount:

I opted for a high capacity Flash Drive connected to the back of the system. I'm running a 215gb Samsung Fit Plus drive, which is more than enough space for all the good games on the system. Attaches to the back:

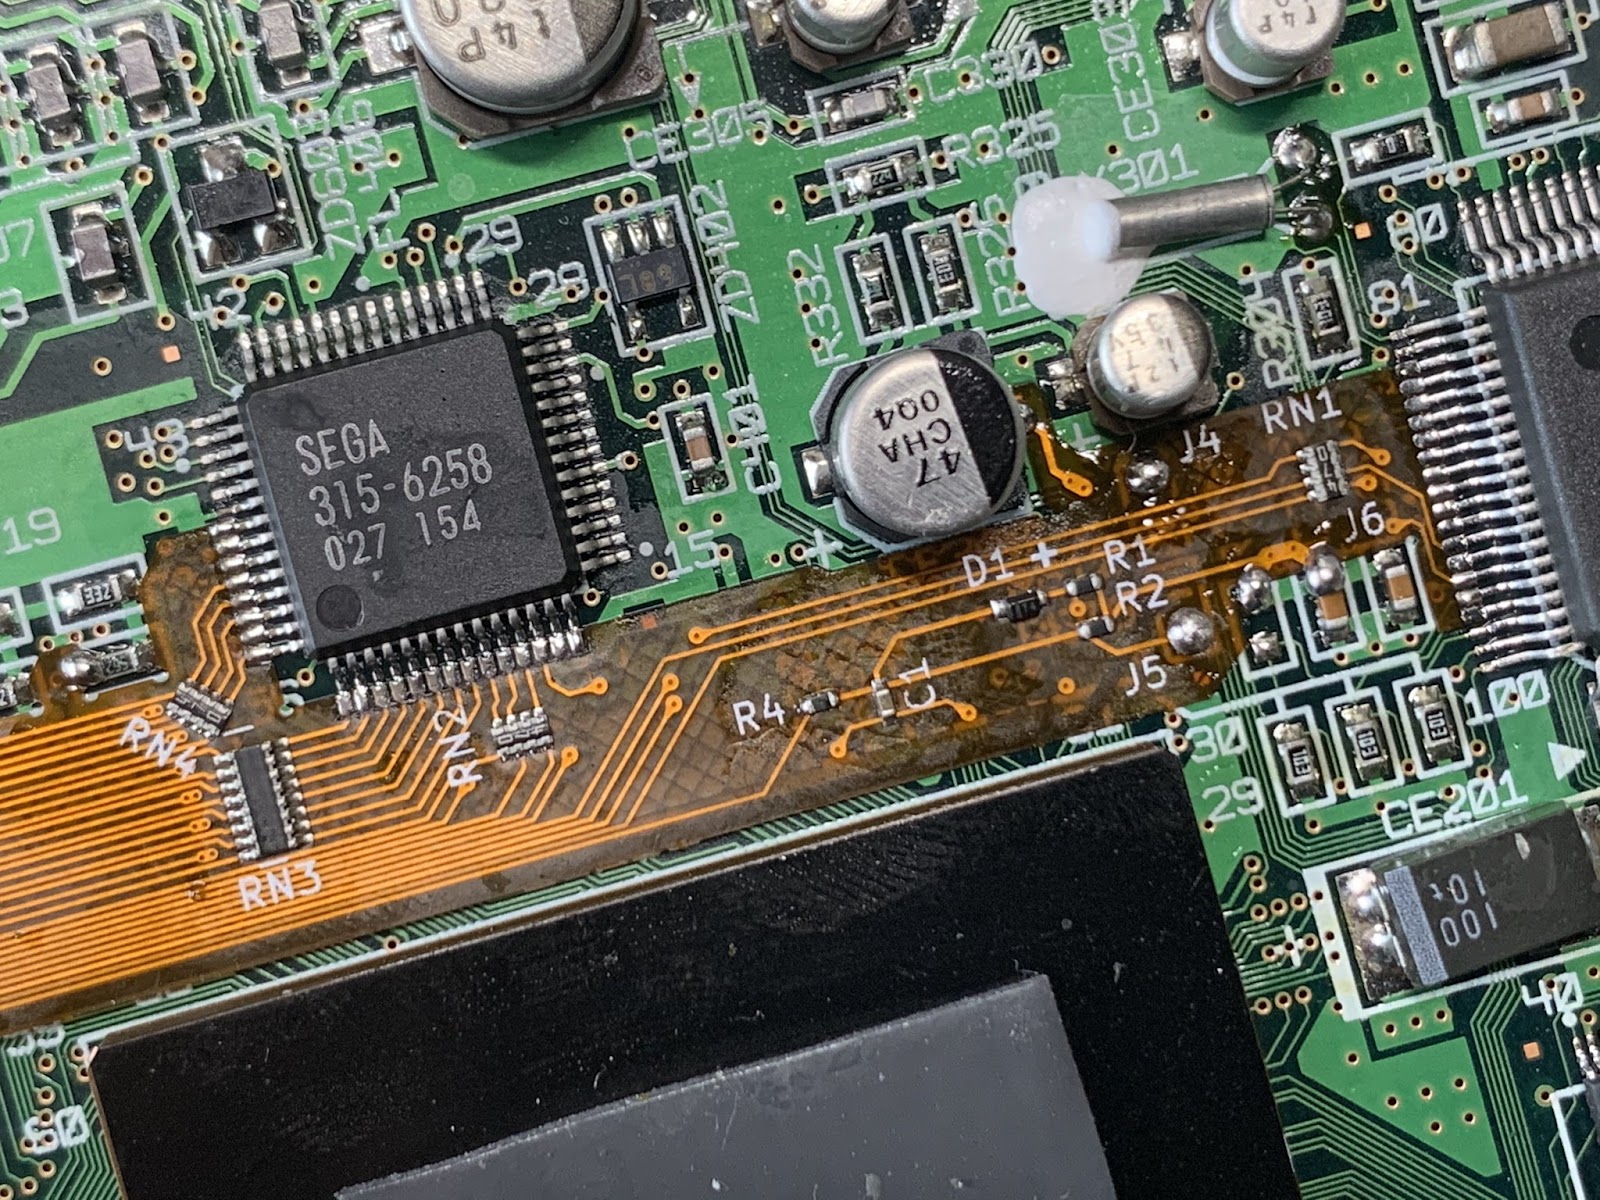
The DC Digital is a small board that mounts above the metal shield, and taps the digital video signals straight from the motherboard. Ribbon cables are soldered various points and SMD chips and fed to the DC Digital board. 


The HDMI-mini port is cut out in the back of the console right under the venting holes. This was a clean install!

The results?  Clean crisp high resolution HDMI video! Every Dreamcast game looks amazing! 


Been a while since my last update

Gah, life!  I can't believe it's been 2 years since my last update!  Lots of stuff going on in my life that has got me to neglect my updates to this blog. But it's time to give it a new post.

Things are great! I'm a dad of our #2 child, new job, new house...lots of changes in the last couple years.

The twitch stream has been going really well!  I'm up to about 2000 followers now, and have built a fantastic community of retro arcade enthusiasts that regularly show up in my stream and on my discord channel. 

I've gone through a lot of projects since, from artwork to arcade, so I'll be updating this space with more posts!


Here are the links to twitch and discord: 

https://www.twitch.tv/gillaxian

https://discord.gg/qcRKyFN

Thursday, October 1, 2020

MiSTer in an Arcade Cabinet

I've been getting into the MiSTer FPGA device which plays accurate reproductions of old consoles and arcade games and been wanted to connect it to my arcade cabinet. Unfortunately there currently aren't many options, one being to use a JPAC. I personally don't like the JPAC. It's clunky, the software is convoluded, and it handles controls as keyboard inputs rather than controllers.

Introducing the Antonio Villena JAMMA Adapter:


Pros:

- The Adapter is an external device that can sit outside of the MiSTer. This was vital for me since I have a nice console-like case for my MiSTer/BliSTer set-up. I didn't want something that I'd have to ditch my cool case for by attaching directly to the Mister stack.

- Very easy to set-up, once you know a couple quirks to be aware of (more on that later)

- The Xin Mo is 1 USB connector for 2 controller inputs. This is pretty great as you don't have to worry about having two interfaces taking up USB ports.

- Controls have very low lag. I didn't notice any problems with input latency, and since the Xin Mo interface is USB, it takes advantage of the fast USB updates that recently were added to the MiSTer project.

- CPS2 Kick Harness. It seems that this harness has become the standard connector for Aux buttons. Glad he chose to go with this.

- Cool lookin' plexi case. Small and unobtrusive.

- No special video output settings. Just set the MiSTer up as you would with any regular analog settings. The video gets downscaled to the proper 15khz for Arcade Monitors.


Cons:

- VGA port is male. I believe Antonio's intent was to be able to directly mate this to your MiSTer on the side, using his specific plexi cases for both the MiSTer and this. This was a bit of an annoyance because for someone like me who has my own MiSTer case, I have to connect the VGA via a cable, and that requires a gender change adapter.

- Video requires your VGA port to supply 5v. You have to switch your VGA jumper on the IO board to output 5v. Additionally, you have to make sure your VGA cable has all 15 pins connected. Pin 9 on the VGA is the 5v line. There are VGA cables that only have 14 pins connected, so you have to make sure your VGA has all 15 pins hooked up.

- There are files that need to be copied over to your MiSTer's linux folder to get the Xin Mo control interface to work. Those files are featured on his site on the JAMMA Adapter page. I guess this isn't much of a con, but it's just another thing to set-up.

- I don't like how the Xin Mo sticks out of the case like that. It would have been nicer if you didn't see the PCB of the Xin Mo, if it were integrated into the case cleaner.

- Doesn't work with some monitors. I tried this in a Sega Aero City and wasn't able to get the video to display correctly. It was missing color channels, or the right amount of channel voltage...either way, it wasn't displaying properly and when I asked Antonio about this, he mentioned there wasn't really any processing of the video signals, like attenuation, it was just a pass-through. This was a red flag for me. 

TLDR;

Overall this device is pretty straightforward, but it does have a couple things to be aware of when setting it up (listed in the Cons section above). The price seems decent for having an external device like this.  But the compatibility with some arcade monitors made me decide it wasn't for me.


Friday, August 28, 2020

Defend Milwaukee!

 Another Art commission in the books.  This time the theme is Milwaukee is being invaded by aliens, and these two people are caught on Brady Street drinkin' brews at some of the bars and breweries there. 

My client is building a cabinet for his friend's wedding present, so his friend and fiancé is featured here.

I had fun with this one, adapting a real street into this fantasy.  Also, I inadvertently got influenced by Bart vs the Space Mutants' aliens here. LOL


Thursday, June 18, 2020

Twitch.tv Streaming!

A couple months ago, when COVID-19 forced all of us to stay at home, I started doing a weekly Arcade Stream on Twitch.tv.  I’ve been wanting to put on a regular twitch stream for a while now, and had been slowly acquiring the hardware to do one legitimately.


My schedule is every Thursday at 6PM PST/8PM EST, then randomly on the weekend.

The goal for Thursday’s is to run Arcade Games on Real Hardware for a couple hours, just chillin’ playing games and talking about them. Weekends will be random. Could range from arcade, to consoles old or new, or doing art. We’ll see what I feel like then. But Thursday’s should be arcade consistent.

I’m not doing this for money or anything, just an excuse to play my toys with people who appreciate them. But if people want to donate or subscribe, I'm not going to stop them. :)

Come on by the stream and hang out!

https://twitch.tv/gillaxian

Sega System 18 Multi - OLED Selector Images

Had a blast making the System16 selector images, so I continued onto another upcoming multi board...the Sega System 18!

These icons has a bit more pixels than the S16 images, @ 128x64 this time.


And here's how they look on the OLED Selector Screen!